Podcast Equipment Guide: What You Need at Every Level
Key Takeaways
- •The room and consistent microphone distance are free and matter more than any equipment purchase
- •A dynamic microphone picks up far less room sound than a condenser, which forgives an untreated space
- •Acoustic treatment gives a larger improvement than upgrading the microphone at the same budget
- •For remote guests, have each person record locally rather than relying on the call recording
- •Most people buy equipment in reverse order of usefulness, and none of it makes them publish more consistently
Podcast equipment advice generally starts with microphones, which is the third most important thing. The two that matter more are free.
The two free things that beat any purchase
1. The room. Hard, empty rooms produce echo, and no microphone removes it. Soft surfaces absorb it: carpet, curtains, a bed, a wardrobe of clothes, a sofa.
Recording in a small carpeted room with soft furnishings, or literally inside a wardrobe, sounds better than an expensive microphone in an empty living room. This is the single largest quality difference available and it costs nothing.
2. Microphone distance, kept consistent. Close, and the same distance throughout. Distance varying mid-sentence is more audible than any equipment difference.
Fix these two before spending anything, because they determine the ceiling on everything else.
Tier one: starting, under 100
Microphone: a basic USB microphone. Plugs in, works, no interface needed.
Headphones: any wired pair you already own. Wired matters, because Bluetooth introduces delay.
Stand: whatever holds the microphone at mouth height consistently.
Software: free audio editors do everything a speech podcast needs.
What this fixes: the gap between phone audio and a dedicated microphone is real and noticeable. The gap between this tier and much more expensive setups is considerably smaller than the price difference suggests.
Tier two: committed, 100 to 300
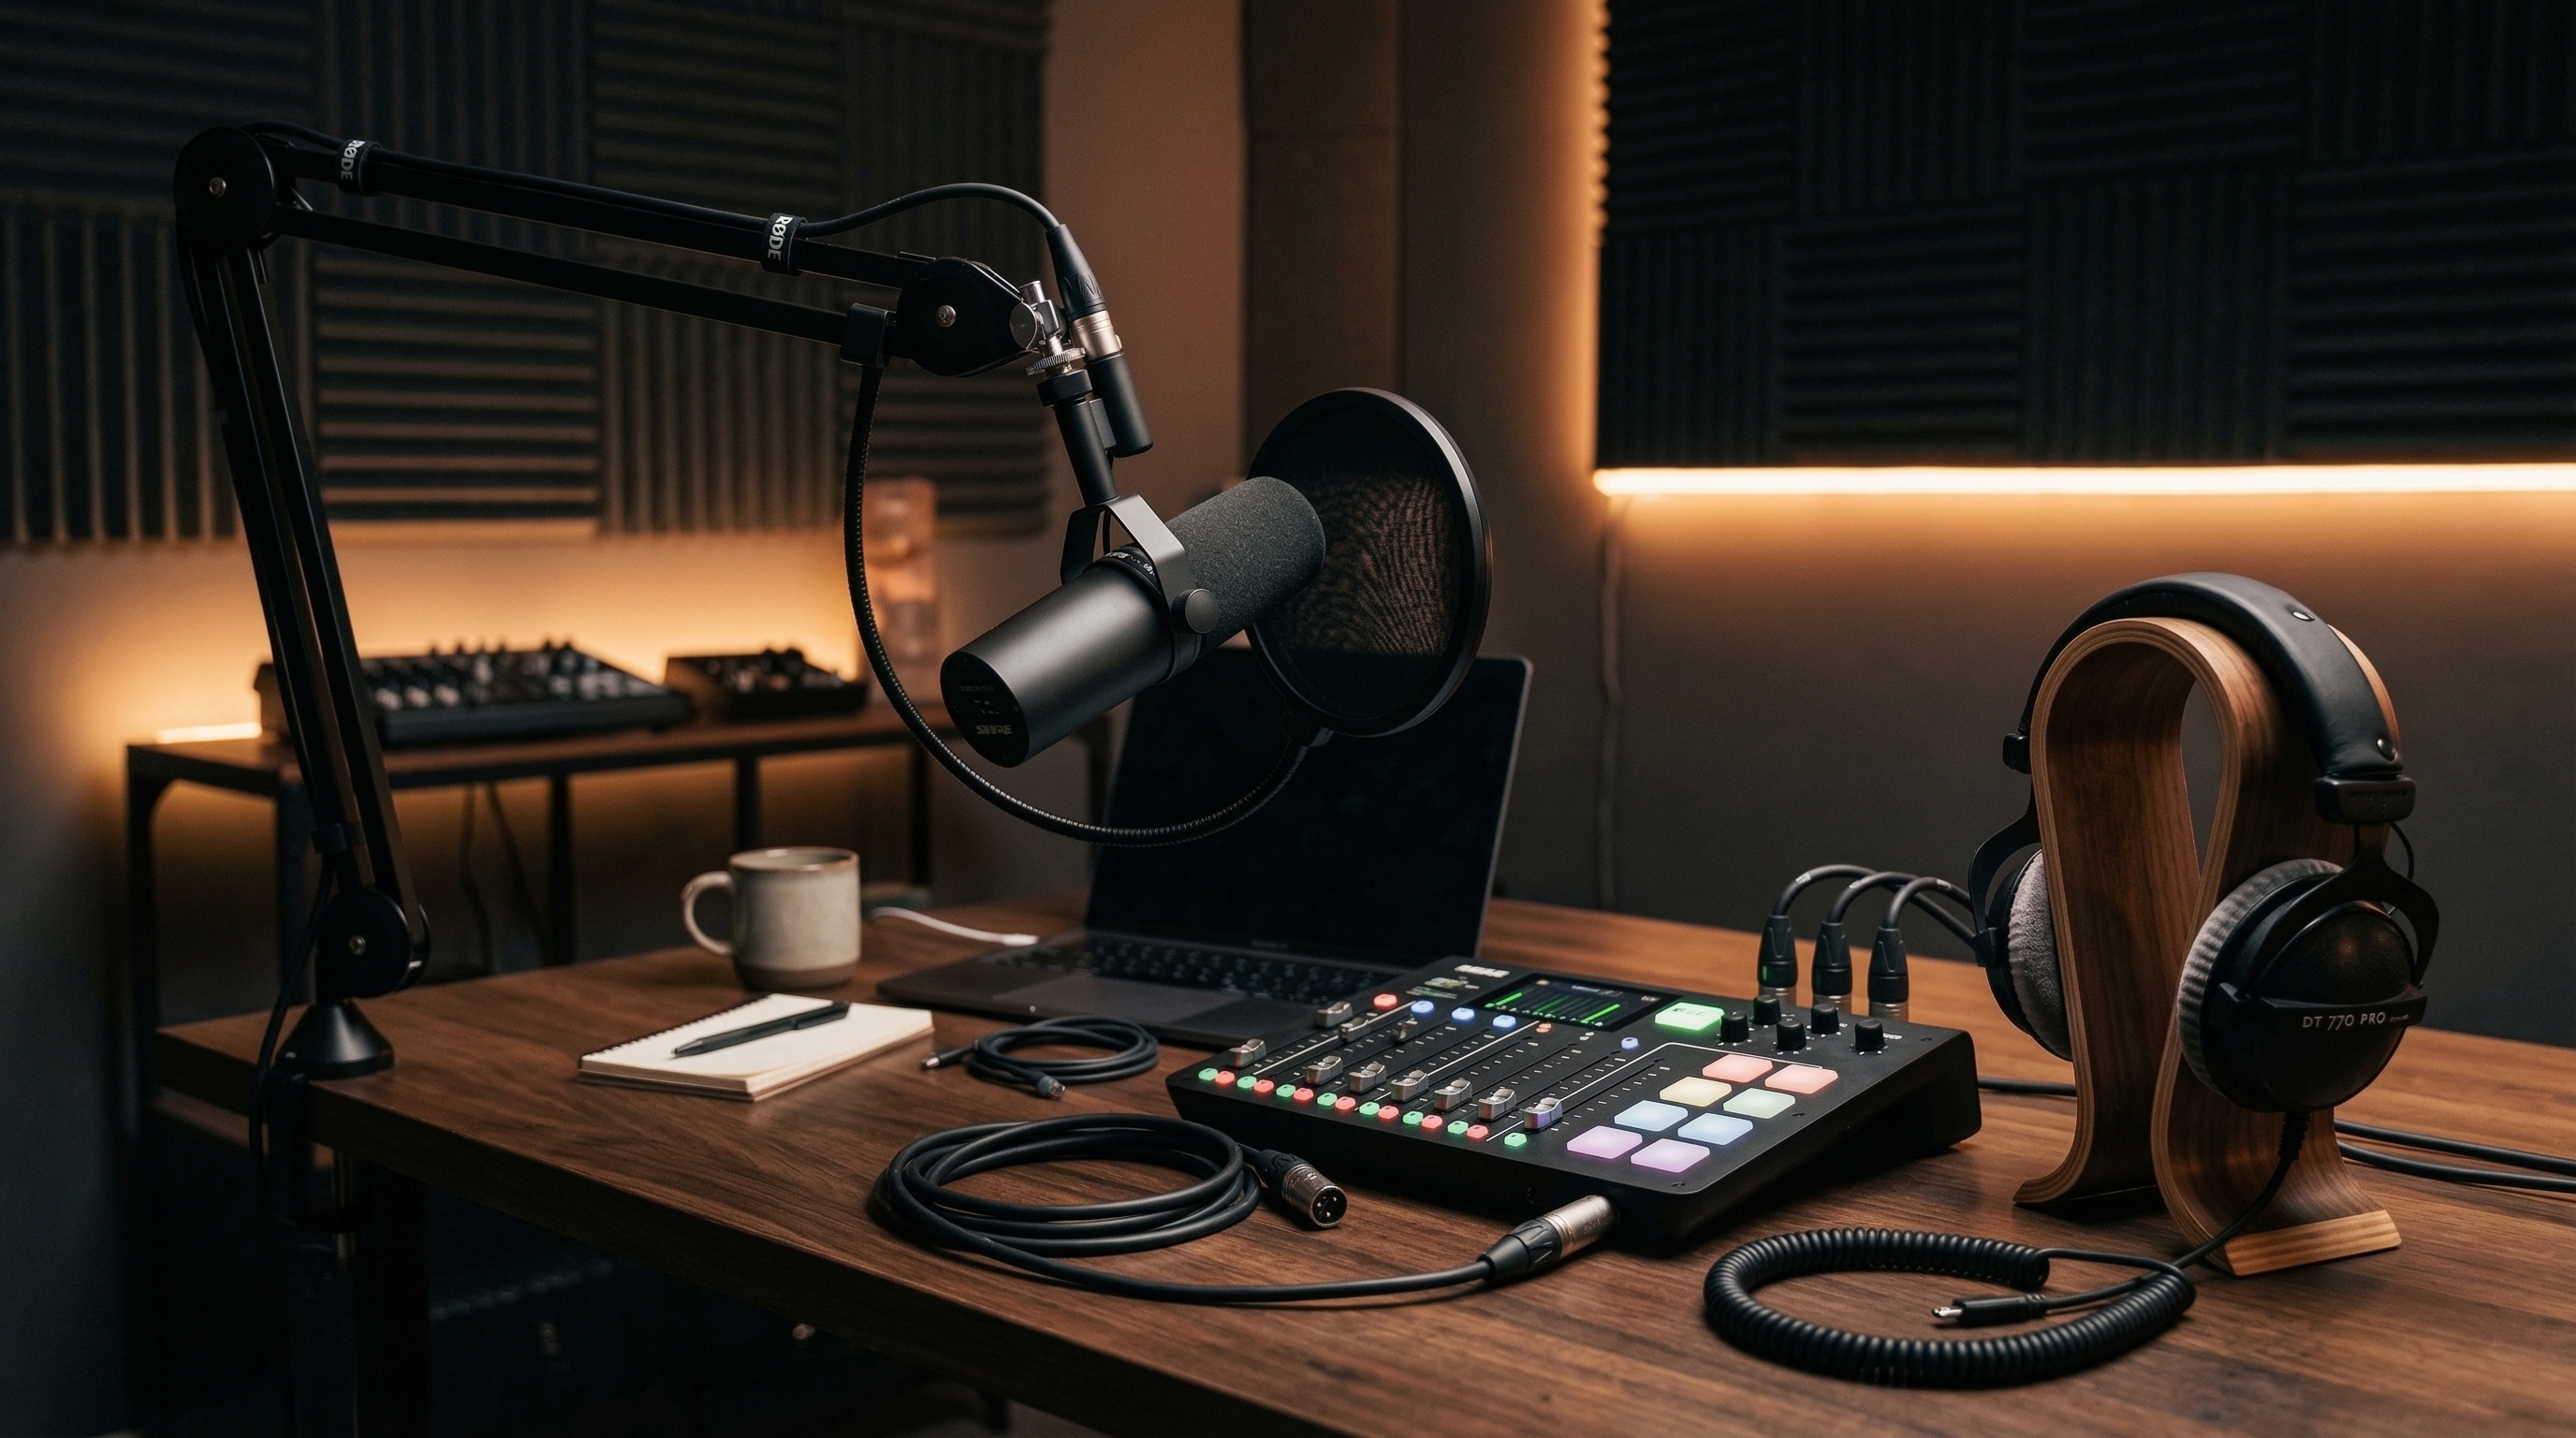
Microphone: a better USB microphone, ideally a dynamic one rather than a condenser. Dynamic microphones pick up much less room sound, which forgives an imperfect space. This is the most useful single upgrade in podcasting.
Boom arm: keeps the microphone at a consistent distance and off the desk, which removes typing and bump noise.
Pop filter: removes plosive bursts on p and b sounds.
Closed-back headphones: for monitoring while recording without bleed.
Acoustic treatment: a few absorption panels at the first reflection points. Genuinely the highest-return item at this tier, ahead of any microphone upgrade.
Tier three: established, 300 to 1000
Microphone: an XLR dynamic microphone. The broadcast standard for speech, and forgiving of untreated rooms.
Interface or recorder: an audio interface into a computer, or a dedicated multi-track recorder. Recorders are more reliable, since they do not depend on a computer behaving.
A second microphone, matched, for in-person guests. Matched pairs sound better together than mixed models.
Proper acoustic treatment of the recording space.
What this fixes: control, reliability and headroom. Worth it when you record regularly and the show is established.
Tier four: above 1000
Multiple cameras, lighting, higher-end preamps, a treated room. Relevant when the show is producing something and video is part of the output. See how to film a podcast.
Dynamic versus condenser, which is the choice that matters
The most useful technical distinction for podcasters.
Dynamic microphones are less sensitive, pick up much less room sound, and need to be spoken into closely. They forgive an untreated room, which is why broadcast and podcasting favour them.
Condenser microphones are more sensitive and capture more detail, including every reflection, every keyboard, and the traffic outside. They sound excellent in a treated space and poor in a normal room.
For most podcasters recording at home, dynamic is the right choice, and this single decision does more for audio quality than doubling your budget.
Remote recording
The most common quality failure, and it is not an equipment problem.
Do not rely on the call recording. Video call software compresses audio heavily.
Have each person record locally on their own device and send the file. This gives full quality on both sides and survives connection drops entirely. Several purpose-built platforms automate this, uploading local recordings in the background.
Brief guests plainly: wired headphones to prevent echo, close to the microphone, quiet room, record a local backup.
Always record the call too, and use it only if a local file fails.
What you do not need
- An expensive microphone in an untreated room. The room is the constraint.
- A mixer, unless you are doing live broadcast. An interface is simpler and sufficient.
- Wireless microphones, which add failure modes for no benefit when seated.
- Studio monitors, since you are mixing speech and headphones are more accurate for it.
- Multiple microphone models. Matched pairs sound better than a collection.
Software
Recording and editing: free editors handle speech podcasts completely. Transcript-based editors, where you edit the audio by editing text, are dramatically faster for long conversations and worth the cost if you edit regularly.
Processing: levelling so all speakers are similar volume, gentle compression, and light noise reduction. Do not over-process; heavy noise reduction makes voices sound underwater.
Loudness: target a consistent level across episodes so listeners are not adjusting volume between them.
Buying order, if you are spending
1. Nothing. Fix the room first, and record ten episodes.
2. A dynamic USB microphone, if you are still going.
3. A boom arm, for consistency.
4. Acoustic treatment, which beats a microphone upgrade.
5. Closed-back headphones.
6. XLR and an interface or recorder, if the show is established.
7. Video, only if it does not reduce your publishing frequency.
Most people buy in roughly the reverse order, and the equipment does not make them publish more consistently, which is the thing that actually determines whether the show works.
For what each tier costs in total, how much does it cost to start a podcast covers the full picture including the costs people forget.
Written by Jamal Brooks
Jamal is a product engineer at Affiliateo who writes about payments, integrations, and technical best practices.